Gather up your pails, shovels, and tons of imagination! Whether it’s your first time building a sandcastle or you’re a seasoned beach architect, these steps will help you build a royal sandcastle that’ll make all the other castles on the beach look like mere sand piles. It’s a great excuse to spend some family time at the beach and create memories that will keep you laughing long after you get home.
Let’s get ready to dig, sculpt, and create a masterpiece that’ll be the talk of the shore!
Have fun! Let your imagination run wild and enjoy the process. Sandcastles are all about creativity, so make it yours!
What you’ll need to build your sandcastle
- Shells, pebbles or driftwood (to decorate and make your castle unique)
- Buckets of imagination (the most important tool of all!)
- A sturdy shovel (to pile up the sand and make a solid base)
- A bucket (to collect water from the waves)
- A large bucket with the bottom cut out (to build your main towers)
- Smaller buckets (for smaller towers and decorations)
- A plastic knife and spoon (for carving windows, doors and intricate details)
- A pencil (for drawing designs such as brick patterns and stone textures)

Step 1: Build the base
Start by choosing the perfect spot on the beach – it should be close enough to the water to easily fill your bucket, but far enough away to avoid high tide. Ready? Let’s get the base going!
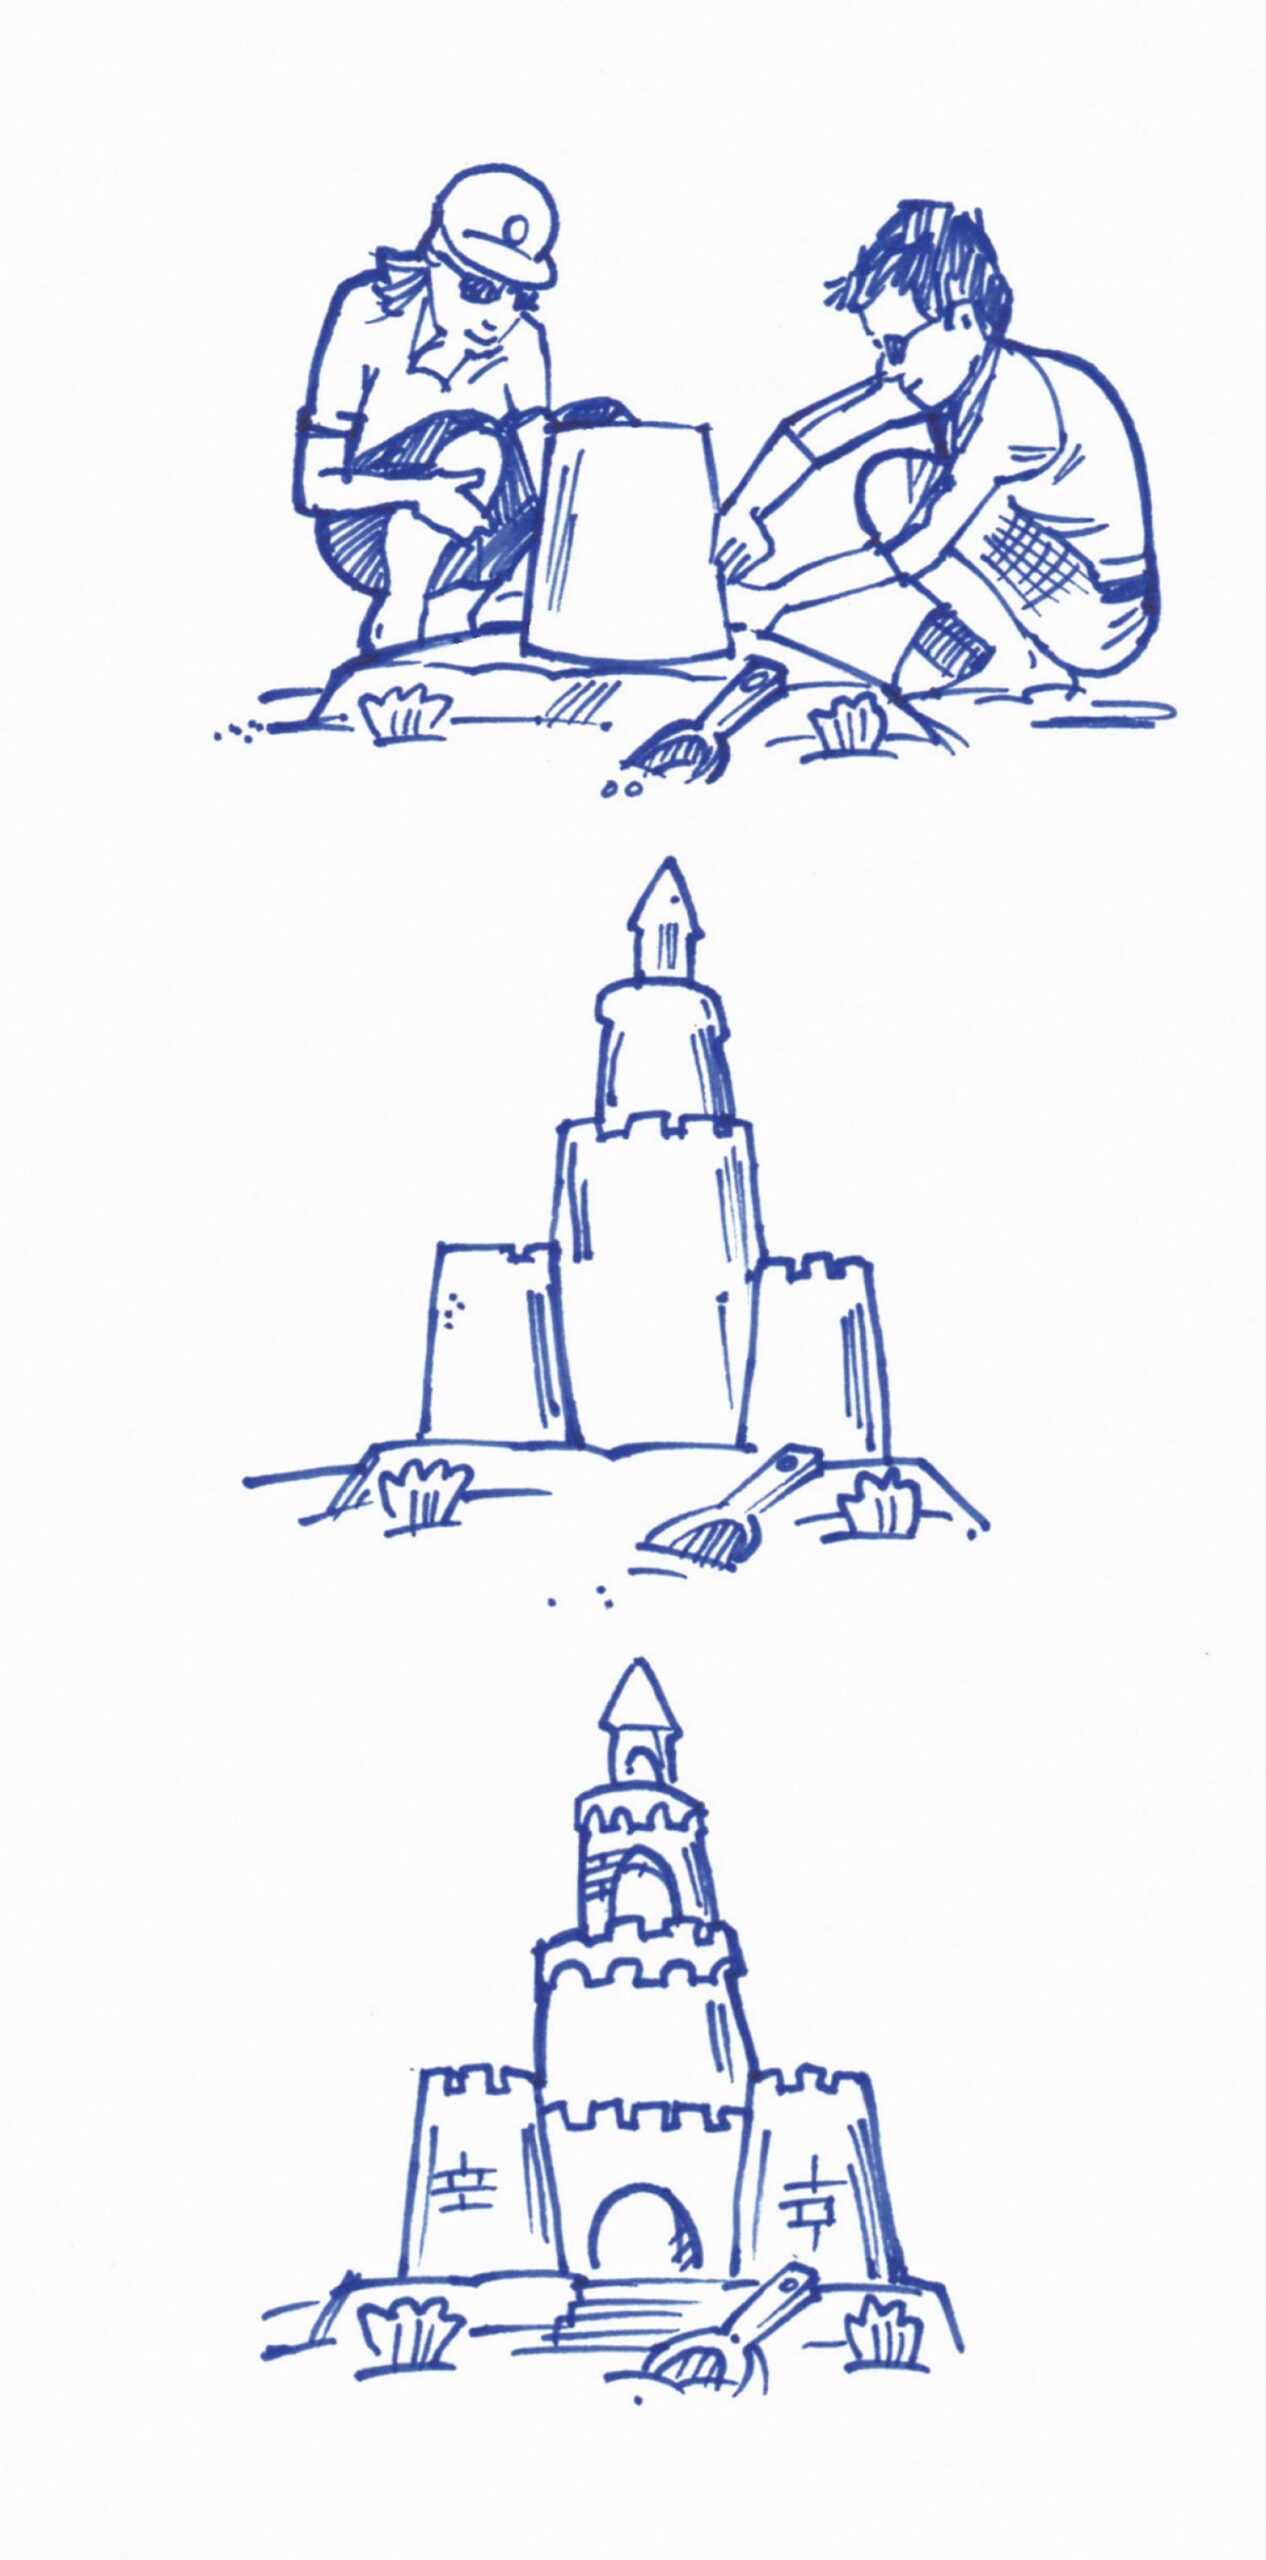
Create the main tower: Place your large bottomless bucket upside down on your solid mound. Fill it with a layer of sand, then pour in water to moisten the sand and pack it down. Continue to add layers of sand and water until the bucket is full, pressing down after each layer. Once packed, lift the bucket carefully to reveal your main tower.
Pile up the sand: Use your shovel to make a large mound of sand where you want to build your castle. The bigger the mound, the bigger and stronger your castle will be!
Add water and compact: Pour water over the mound and stomp on it to compact the sand. A firm, flat foundation will keep your castle stable, so don’t rush! Keep adding water and pressing down with your feet or hands until the mound feels solid and ready to use.
Step 2: Build the towers of your castle
Now that the main tower is standing proudly, let’s add some smaller towers around it to give your castle a real fortress look. You’re about to add even more magic to this castle!
Use smaller buckets: Fill your smaller buckets with damp sand, pressing down hard to pack the sand in well. Then place each bucket on top of your base structure or around your main tower and carefully lift it up to reveal a smaller tower.
Add levels and layers: Feel free to add as many small towers as you like – this is your castle, so make it big and grand! Place towers on different levels to create a dynamic, layered look.
Experiment with placement: Place the smaller towers on different parts of the base for a fun look. Stack them for extra height or place them along the edges like watchtowers. Don’t be afraid to get creative!

Step 3: Carve out the details
Now that your castle is taking shape, it’s time to add the magical details that will bring it to life! This is where you can let your imagination run wild.
Carve windows and doors: Use your plastic knife to carve small windows and a grand entrance door into your towers. If you want deeper doorways or windows, use the spoon to scoop sand out of the edges.
Draw brick patterns: Take your pencil and gently press it into the sand to draw brick patterns, stone textures or even battlements along the walls. This step will give your castle a medieval, fortress-like feel, perfect for a royal stronghold.
Add fancy details: Draw lines for roof shingles, arches around windows or decorative patterns on the walls. The more detail the better!
Step 4: Decorate like a pro
This is where your creativity really comes into its own! Give your castle a personality with decorations that will make it stand out from the crowd.
- Seashell Mosaic: Collect seashells along the shore and press them into the castle walls to create colourful designs or mosaics.
- Add a rock garden: Use small stones to create a path around your castle or pile them at the base for added charm.
- Build a moat: Dig a shallow trench around the castle to create a moat, then fill it with water (or leave it empty – it’s still a moat!). Add a ‘drawbridge’ by laying a piece of driftwood across it.
- Royal finishing touches: Add flags using sticks or seaweed for flagpoles, and create a ‘courtyard’ area in front of your castle with shells arranged in fun shapes. Your castle is ready for royalty!
Expert carving for the brave sand architect!
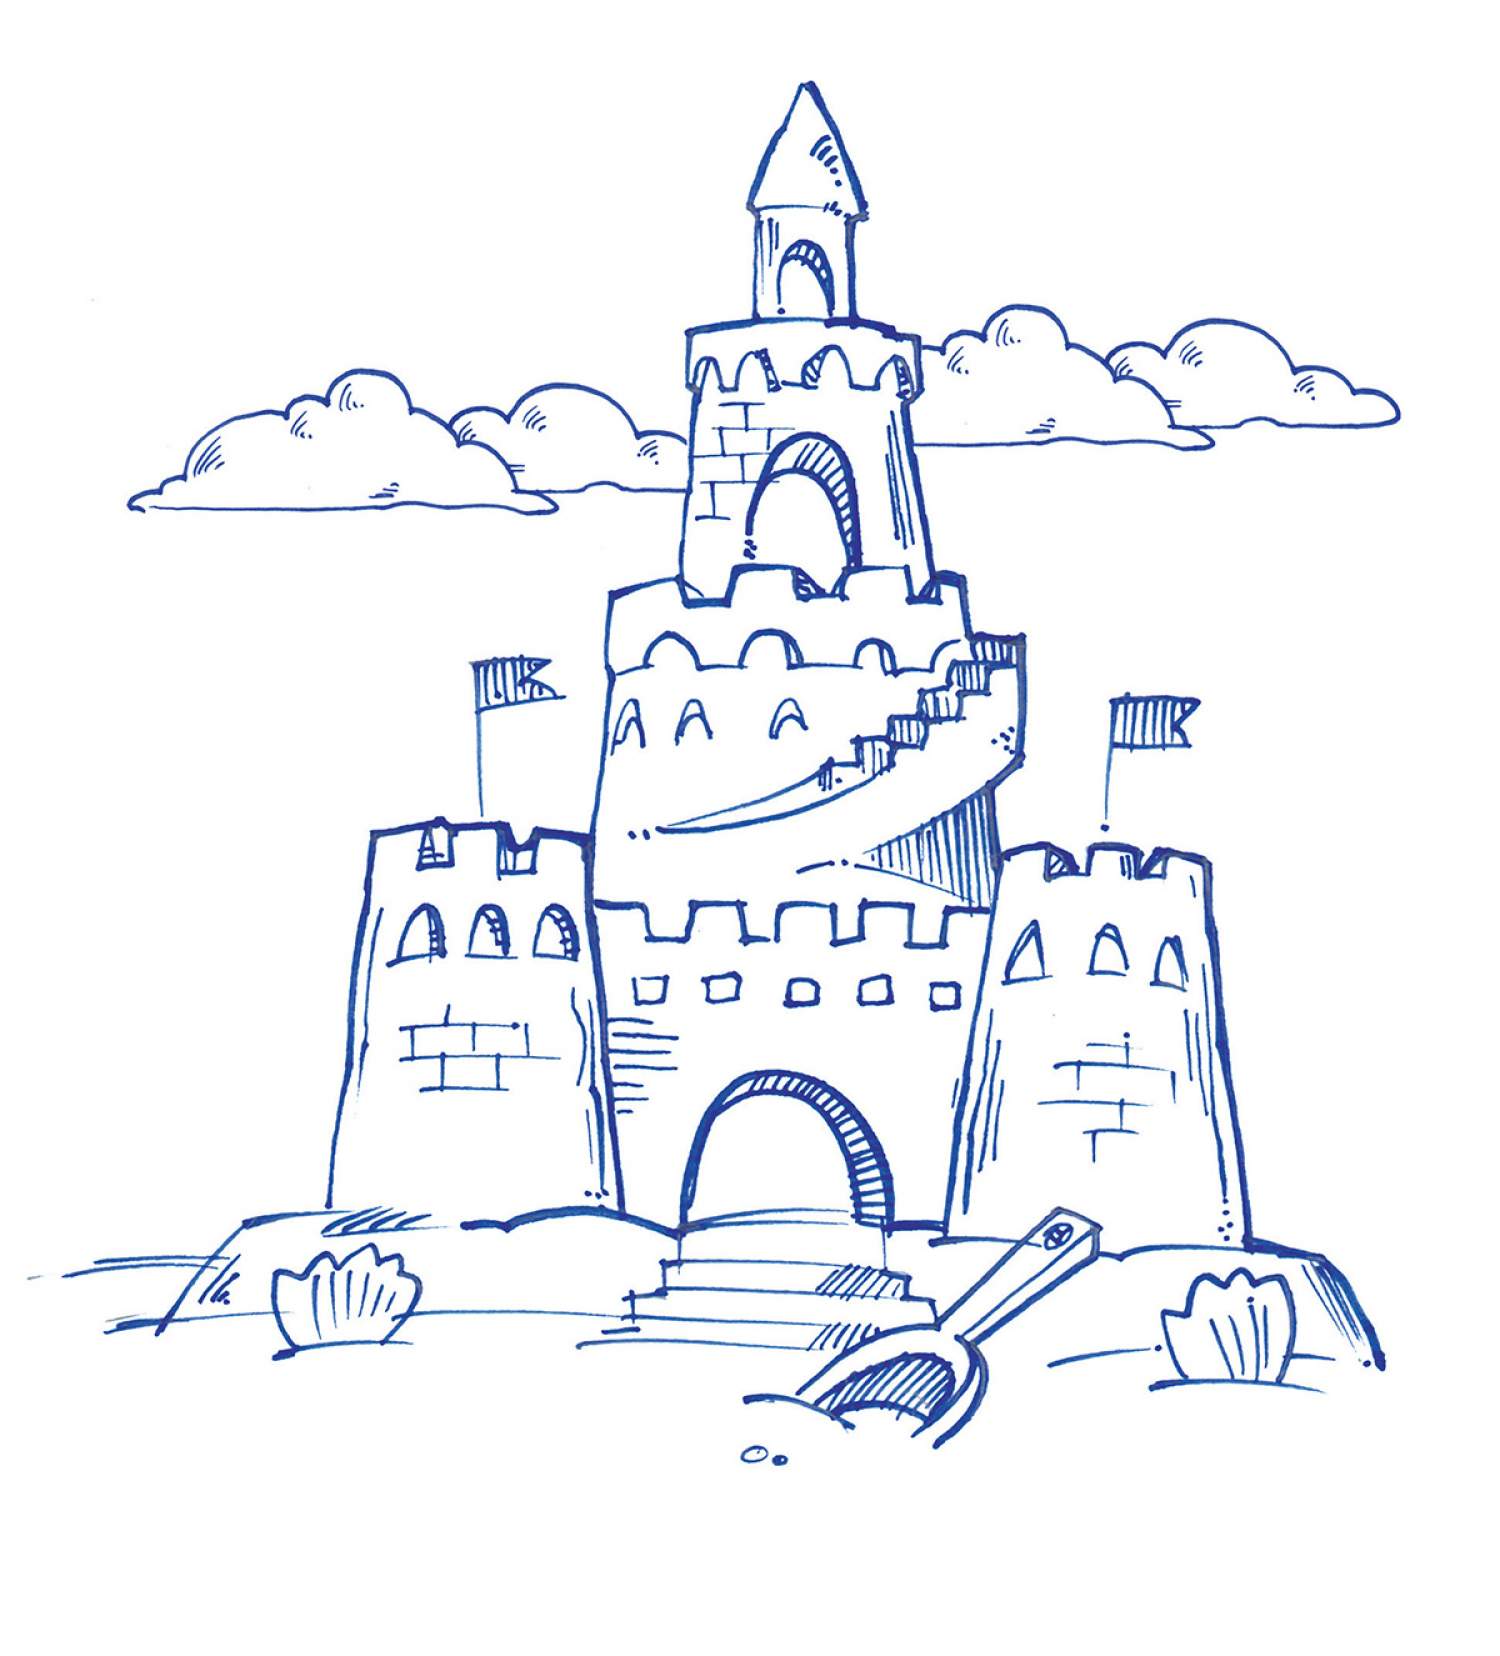
Want to go pro? Let’s add a staircase and a ramp to your castle for an advanced touch.
Create a ramp: On your main tower, use your plastic knife to carve a sloping line around the base. Carefully scrape away the sand above the line to create a smooth ramp from the top of the tower down to the beach.
Add steps: Start at the top of the ramp and use the knife to carve small, shallow steps to create a large staircase. Work your way down, taking your time, and soon you’ll have a beautiful staircase fit for a king or queen!
Quick tips for sandcastle success
- Water is the key: The wetter the sand, the stronger the structure. Keep your sand moist as you build to avoid crumbling.
- Press and pack: Each layer of sand should be pressed down firmly to create a strong, durable tower.
- Lift buckets slowly: When removing buckets, go slowly and steadily to avoid accidental collapses.


